Stories that fuel our community.

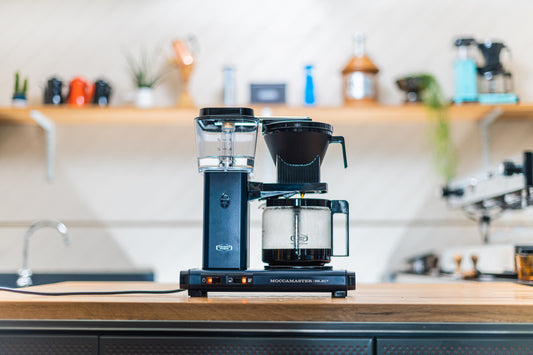
The Moccamaster KBG Select: Overview & Brewing ...
Last year, we created a video offering tips on how to get the most from the Moccamaster KBG that’s proven valuable to many. The more recent release of the Moccamaster KBG Select...
The Moccamaster KBG Select: Overview & Brewing ...
Last year, we created a video offering tips on how to get the most from the Moccamaster KBG that’s proven valuable to many. The more recent release of the Moccamaster KBG Select...
Read more
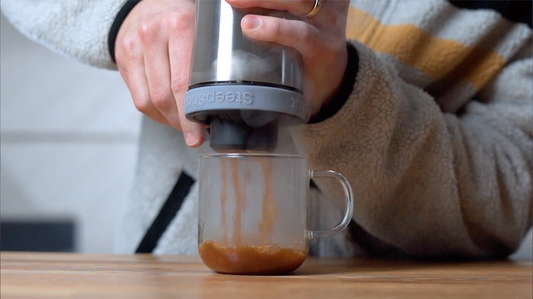
Introducing the SteepShot Immersion Coffee Brewer
Allow us to introduce the SteepShot, a new breed of coffee brewer. Designed by Ari Halonen in Norway, this intelligent and considered 1-cup coffee maker utilises pressure to create delicious coffee...
Introducing the SteepShot Immersion Coffee Brewer
Allow us to introduce the SteepShot, a new breed of coffee brewer. Designed by Ari Halonen in Norway, this intelligent and considered 1-cup coffee maker utilises pressure to create delicious coffee...
Read more

Our audio-enabled Brew Guides
We’re always looking for new ways that we can help people to brew the best coffee outside of our coffeebars. It’s the reason we began hosting our hands-on, Saturday morning...
Our audio-enabled Brew Guides
We’re always looking for new ways that we can help people to brew the best coffee outside of our coffeebars. It’s the reason we began hosting our hands-on, Saturday morning...
Read more
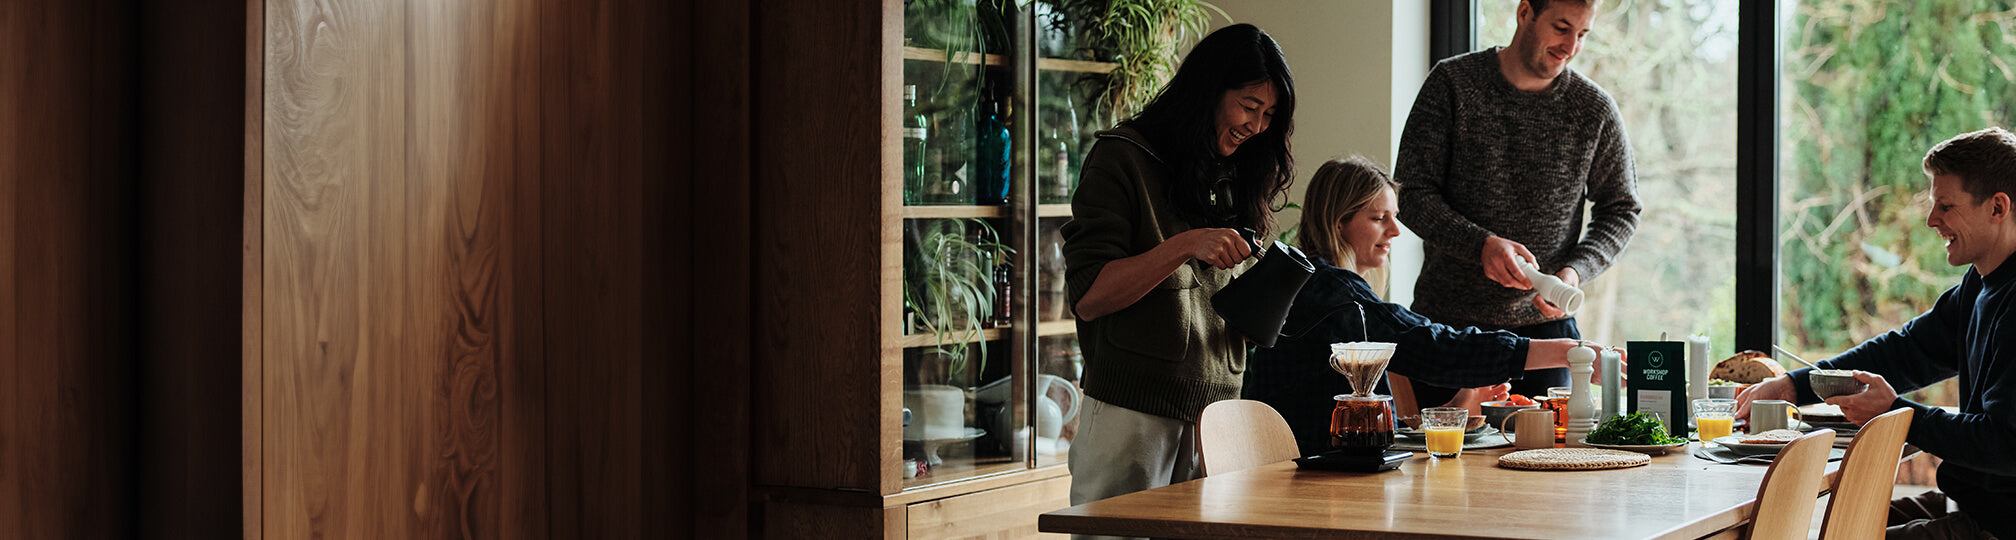
Untapped potential
Have you tried:
Untapped potential
Have you tried: