Stories that fuel our community.

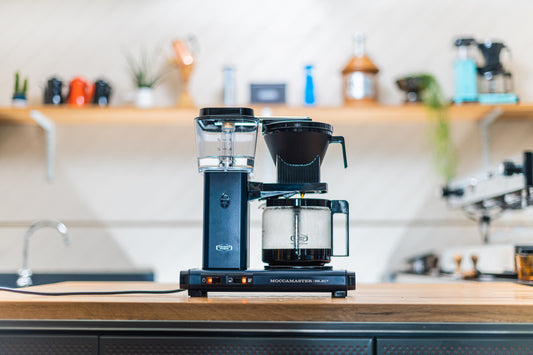
The Moccamaster KBG Select: Overview & Brewing ...
Last year, we created a video offering tips on how to get the most from the Moccamaster KBG that’s proven valuable to many. The more recent release of the Moccamaster KBG Select...
The Moccamaster KBG Select: Overview & Brewing ...
Last year, we created a video offering tips on how to get the most from the Moccamaster KBG that’s proven valuable to many. The more recent release of the Moccamaster KBG Select...
Read more
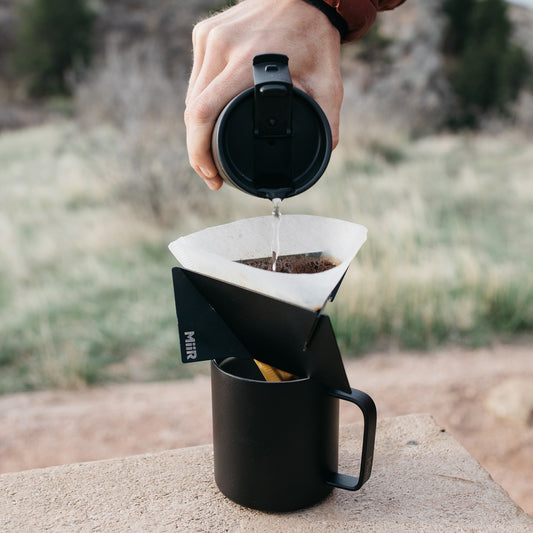
For the Outdoors: Our Latest Brew Bundle
There's something about brewing and drinking coffee in the outdoors. Perhaps it's the fact there are fewer distractions, or maybe it's just the novelty of spending some much-needed time away from...
For the Outdoors: Our Latest Brew Bundle
There's something about brewing and drinking coffee in the outdoors. Perhaps it's the fact there are fewer distractions, or maybe it's just the novelty of spending some much-needed time away from...
Read more
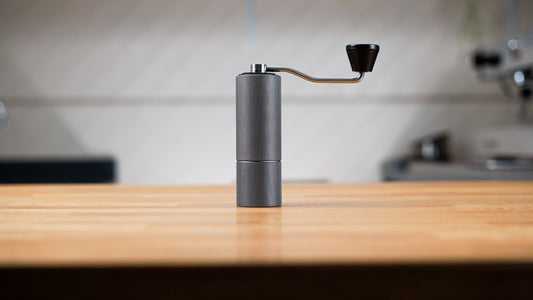
Timemore’s Chestnut C2 Hand Grinder
The Chestnut C2 is Timemore’s entry level hand grinder, but the small price tag gets you a grinder with a number of excellent features. We've also created a video that offers...
Timemore’s Chestnut C2 Hand Grinder
The Chestnut C2 is Timemore’s entry level hand grinder, but the small price tag gets you a grinder with a number of excellent features. We've also created a video that offers...
Read more
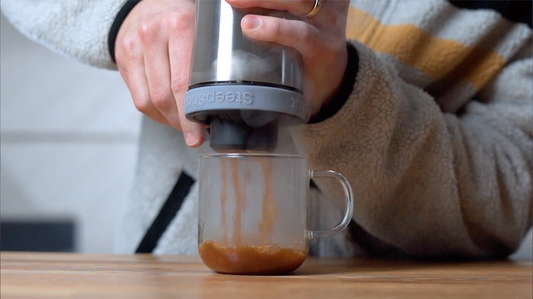
Introducing the SteepShot Immersion Coffee Brewer
Allow us to introduce the SteepShot, a new breed of coffee brewer. Designed by Ari Halonen in Norway, this intelligent and considered 1-cup coffee maker utilises pressure to create delicious coffee...
Introducing the SteepShot Immersion Coffee Brewer
Allow us to introduce the SteepShot, a new breed of coffee brewer. Designed by Ari Halonen in Norway, this intelligent and considered 1-cup coffee maker utilises pressure to create delicious coffee...
Read more
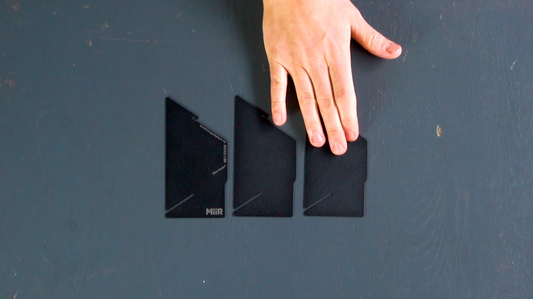
The Pourigami: The World's Smallest Travel Brewer?
Having introduced the full range of MiiR products to the UK, there are some we feel warrant closer inspection and a more in-depth introduction. The Pourigami is one such item....
The Pourigami: The World's Smallest Travel Brewer?
Having introduced the full range of MiiR products to the UK, there are some we feel warrant closer inspection and a more in-depth introduction. The Pourigami is one such item....
Read more
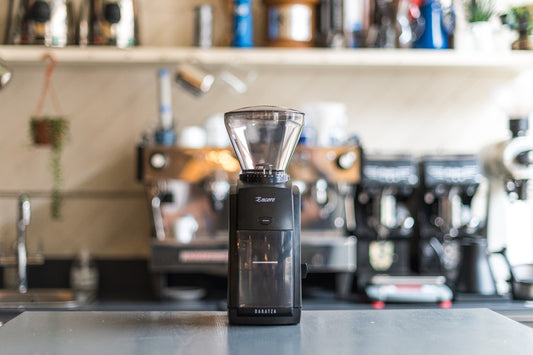
Introducing the Baratza Encore
As our range of equipment and hardware continues to expand, our focus remains on showcasing products we’ve extensively tried and tested to ensure they don’t just complement, but elevate, your...
Introducing the Baratza Encore
As our range of equipment and hardware continues to expand, our focus remains on showcasing products we’ve extensively tried and tested to ensure they don’t just complement, but elevate, your...
Read more

Brewing in the Wild
Being able to brew great coffee wherever and whenever you need it most has always been a key aim of ours. No matter where you are or what equipment you have...
Brewing in the Wild
Being able to brew great coffee wherever and whenever you need it most has always been a key aim of ours. No matter where you are or what equipment you have...
Read more

Delving into automatics
The era of the self-flagellating barista is over. Overly obtuse and complicated brewing procedures that were once entertaining and exciting are now simply annoying. “There are no points for difficulty...
Delving into automatics
The era of the self-flagellating barista is over. Overly obtuse and complicated brewing procedures that were once entertaining and exciting are now simply annoying. “There are no points for difficulty...
Read more
Untapped potential
Have you tried:
Untapped potential
Have you tried: