
Energising encounters
Stories that fuel our community.
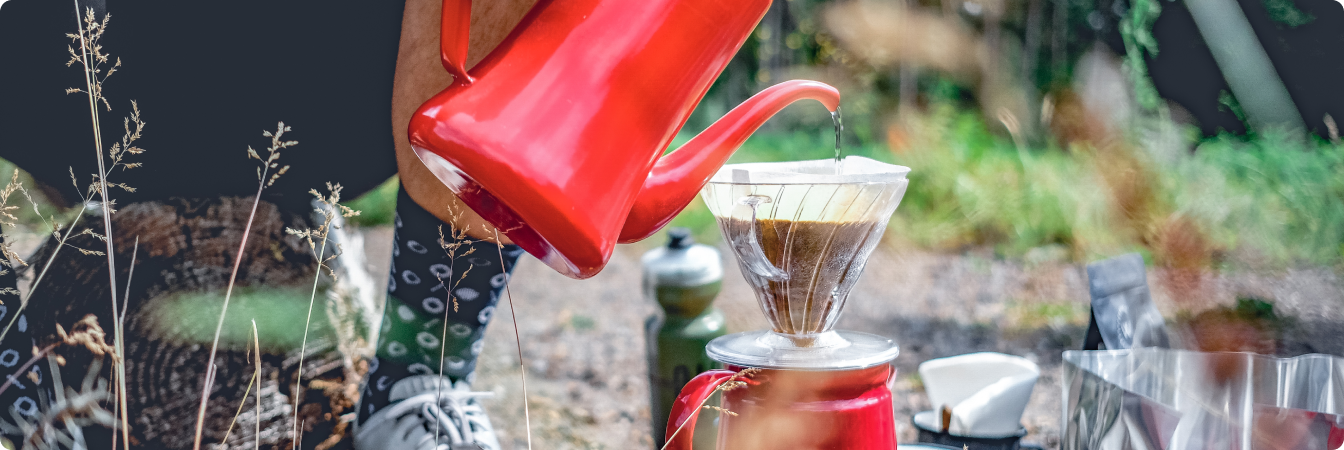
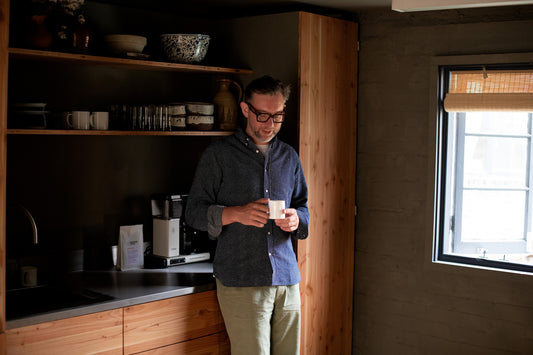
Tanner Bates x Workshop Coffee | Our Collaborat...
Life is not a straight line. Whilst some people discover their path early in life, others career their way towards their chosen vocation, taking time to discover what it is...
Tanner Bates x Workshop Coffee | Our Collaborat...
Life is not a straight line. Whilst some people discover their path early in life, others career their way towards their chosen vocation, taking time to discover what it is...
Read more
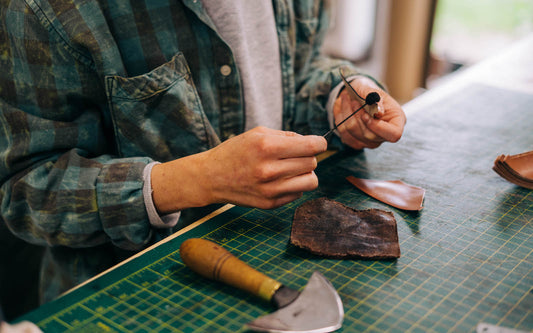
In Conversation with William Kroll, Tender
Photo credit: Rory Cole / Tender “This has become a project predominantly driven by a combination of curiosity and passion”, says Kroll during our latest catch-up over the phone. For...
In Conversation with William Kroll, Tender
Photo credit: Rory Cole / Tender “This has become a project predominantly driven by a combination of curiosity and passion”, says Kroll during our latest catch-up over the phone. For...
Read more
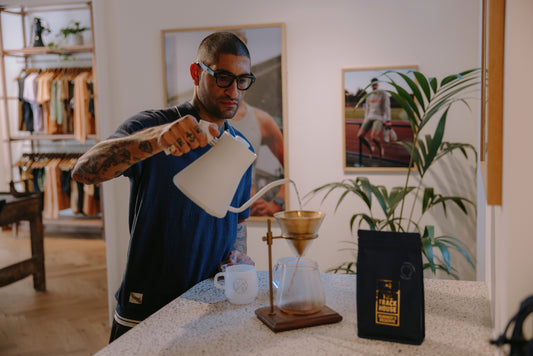
Elevating the Running Ritual with Tracksmith
Our long-time friends Tracksmith understand the powerful connection between coffee and running. Each a ritual in its own right, time on feet is often pre-empted or punctuated by the careful...
Elevating the Running Ritual with Tracksmith
Our long-time friends Tracksmith understand the powerful connection between coffee and running. Each a ritual in its own right, time on feet is often pre-empted or punctuated by the careful...
Read more
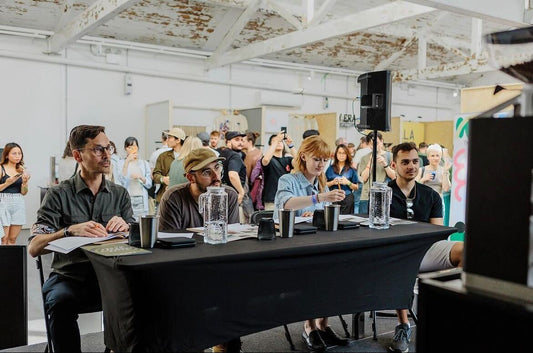
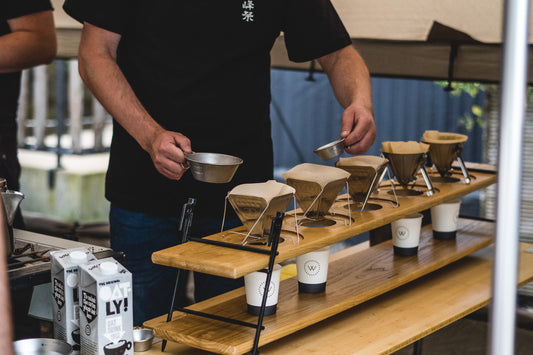
Judging the Inaugural Extracted Development
We were both excited and grateful to be chosen to participate as an experience judge for the first ever Extracted Development coffee competition, which launched this weekend at the Birmingham...
Judging the Inaugural Extracted Development
We were both excited and grateful to be chosen to participate as an experience judge for the first ever Extracted Development coffee competition, which launched this weekend at the Birmingham...
Read more
Win with Workshop Coffee x Veloforte
We've always appreciated the cultural and historic link between coffee and cycling. From supporting grass roots events and working with local teams, through to the regulars that stop by our...
Win with Workshop Coffee x Veloforte
We've always appreciated the cultural and historic link between coffee and cycling. From supporting grass roots events and working with local teams, through to the regulars that stop by our...
Read more

Workshop Coffee x Exploding Bakery | Win Except...
Founded in 2011, Exploding Bakery have been championing brilliant baked goods for over a decade. Committed to excellent ingredients, working with like-minded partners and producers, and doing so fairly, their...
Workshop Coffee x Exploding Bakery | Win Except...
Founded in 2011, Exploding Bakery have been championing brilliant baked goods for over a decade. Committed to excellent ingredients, working with like-minded partners and producers, and doing so fairly, their...
Read more
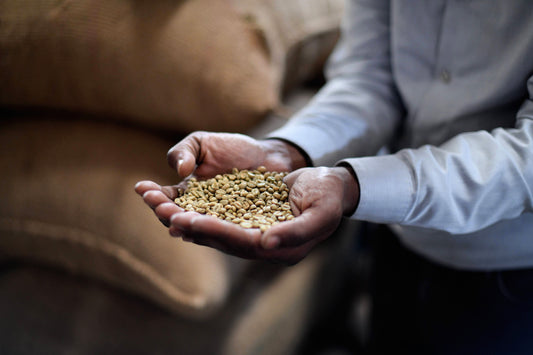
Connecting with Snap Coffee, Ethiopia
Preparing coffee in a Jebena outside the Snap dry mill in Dukem. En route to the dry mills located outside Addis. It is a wonderful feeling to be able...
Connecting with Snap Coffee, Ethiopia
Preparing coffee in a Jebena outside the Snap dry mill in Dukem. En route to the dry mills located outside Addis. It is a wonderful feeling to be able...
Read more
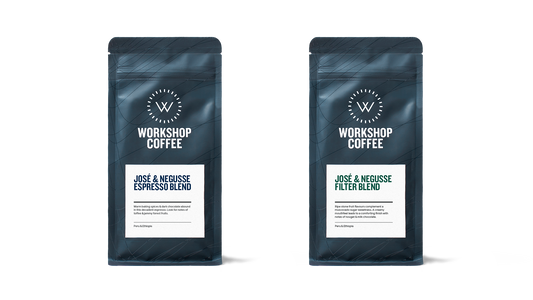
Introducing José & Negusse: Our House Blend Con...
Some of our long standing customers will remember the days when our house espresso, named ‘Cult of Done’ after Bre Pettis’ manifesto, consisted of multiple coffees. In our early years it...
Introducing José & Negusse: Our House Blend Con...
Some of our long standing customers will remember the days when our house espresso, named ‘Cult of Done’ after Bre Pettis’ manifesto, consisted of multiple coffees. In our early years it...
Read more
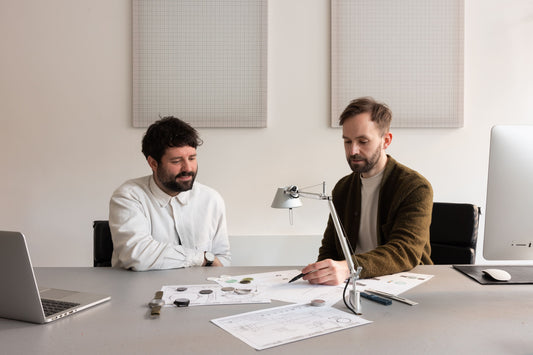
Created for Conversations: Fred Rigby's New Wor...
Fred Rigby's had a busy year. Since we last caught up, his studio has been packed up and transported from North London's Stoke Newington, where he'd been based since 2019, to a...
Created for Conversations: Fred Rigby's New Wor...
Fred Rigby's had a busy year. Since we last caught up, his studio has been packed up and transported from North London's Stoke Newington, where he'd been based since 2019, to a...
Read more
The Pennine Rally
Rapha's Pennine Rally is a multi-day event that, this year, took 100 cyclists from Edinburgh to Manchester via the challenging uplands of Northern England. Covering 500km, the self-supported ride saw...
The Pennine Rally
Rapha's Pennine Rally is a multi-day event that, this year, took 100 cyclists from Edinburgh to Manchester via the challenging uplands of Northern England. Covering 500km, the self-supported ride saw...
Read more
In Conversation with Instrmnt Applied Design (I...
“Please don’t worry about making us sound more eloquent – we don’t have a problem with being misquoted if we sound better on the page than we do in real...
In Conversation with Instrmnt Applied Design (I...
“Please don’t worry about making us sound more eloquent – we don’t have a problem with being misquoted if we sound better on the page than we do in real...
Read more
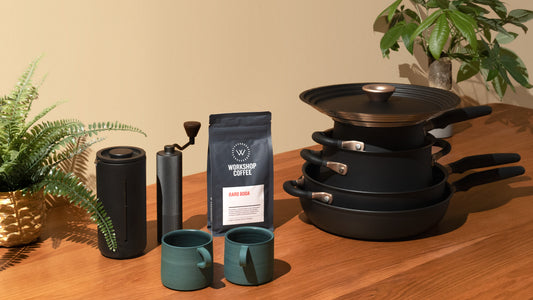
Win a Workshop Coffee x Meyer Labs Home Brewing...
The kitchen is home to the daily rituals that ground us and prepare us for the day ahead. Teaming up with our friends at Meyer Labs, together we're offering the...
Win a Workshop Coffee x Meyer Labs Home Brewing...
The kitchen is home to the daily rituals that ground us and prepare us for the day ahead. Teaming up with our friends at Meyer Labs, together we're offering the...
Read more
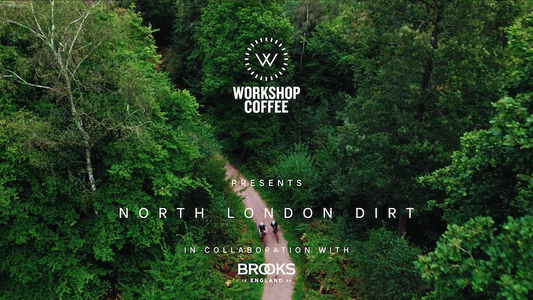
Supporting North London Dirt
North London Dirt is a grass roots cycling event that encapsulates the unique sense of community that cycling fosters. Founders, organisers and brothers Andrew and Philip Diprose have been...
Supporting North London Dirt
North London Dirt is a grass roots cycling event that encapsulates the unique sense of community that cycling fosters. Founders, organisers and brothers Andrew and Philip Diprose have been...
Read more
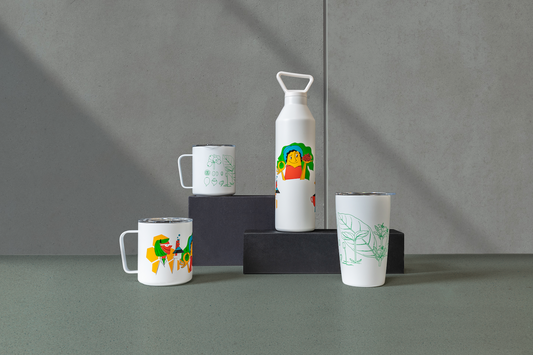
MiiR x World Coffee Research
We're proud to have spearheaded an initiative that brings together design forward, generosity driven drinkware brand MiiR and World Coffee Research. Together, we've created a collection of products that directly contribute to the protection...
MiiR x World Coffee Research
We're proud to have spearheaded an initiative that brings together design forward, generosity driven drinkware brand MiiR and World Coffee Research. Together, we've created a collection of products that directly contribute to the protection...
Read more