
Energising encounters
Stories that fuel our community.

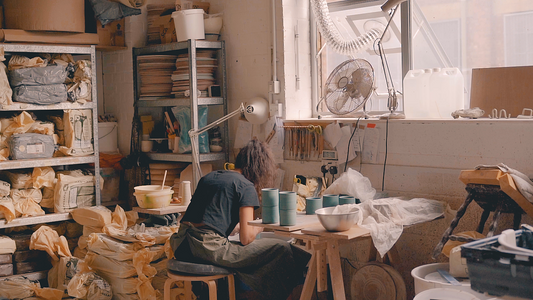
AR Ceramics x Workshop Coffee: Behind the Scenes
It’s been five years since our last ceramics release and what better reason to introduce our latest than in celebration of our 10th anniversary? Working closely with Andrea Roman of...
AR Ceramics x Workshop Coffee: Behind the Scenes
It’s been five years since our last ceramics release and what better reason to introduce our latest than in celebration of our 10th anniversary? Working closely with Andrea Roman of...
Read more
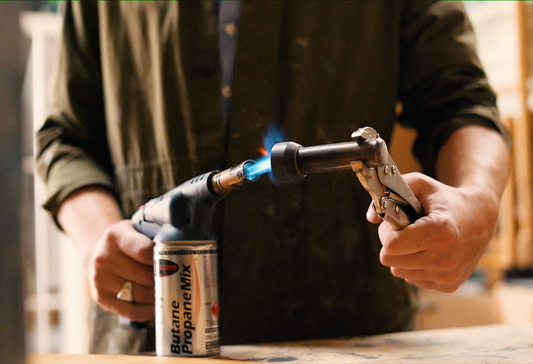
Creating a Thoughtful Studio – In Conversation ...
It’s quiet in the narrow lanes and on the leafy suburban streets of Hackney as we make our way to Fred Rigby Studio. That’s because it’s early. Fred likes to...
Creating a Thoughtful Studio – In Conversation ...
It’s quiet in the narrow lanes and on the leafy suburban streets of Hackney as we make our way to Fred Rigby Studio. That’s because it’s early. Fred likes to...
Read more
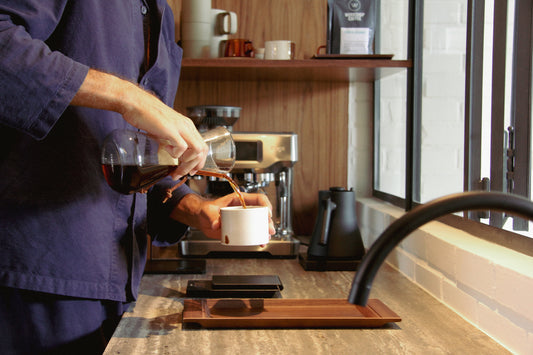
In Conversation with Rafael Oliveira – Creative...
Intermittently sipping his cappuccino from a cup made by Portuguese ceramic studio Studio Jav, Rafael Oliveira smiles warmly from behind the screen. The cup, combined with the pristine, white-washed brick...
In Conversation with Rafael Oliveira – Creative...
Intermittently sipping his cappuccino from a cup made by Portuguese ceramic studio Studio Jav, Rafael Oliveira smiles warmly from behind the screen. The cup, combined with the pristine, white-washed brick...
Read more
Introducing Our Industry Purchase Programme
Part of our tenth anniversary celebrations, we're proud to introduce the Workshop Coffee Professional Community – our industry purchase programme. A new initiative based on old principles, it's one way in...
Introducing Our Industry Purchase Programme
Part of our tenth anniversary celebrations, we're proud to introduce the Workshop Coffee Professional Community – our industry purchase programme. A new initiative based on old principles, it's one way in...
Read more
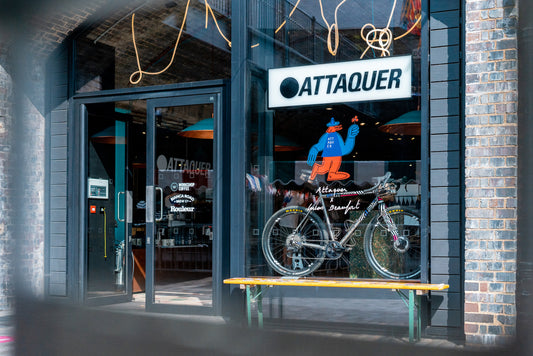
Workshop Coffee x Attaquer | Join Us in Coal Dr...
Purveyor of fine cycling apparel, Attaquer, are popping up in North London's Coal Drops Yard between Friday 9th and Sunday 18th July. We'll be working alongside them throughout the week...
Workshop Coffee x Attaquer | Join Us in Coal Dr...
Purveyor of fine cycling apparel, Attaquer, are popping up in North London's Coal Drops Yard between Friday 9th and Sunday 18th July. We'll be working alongside them throughout the week...
Read more
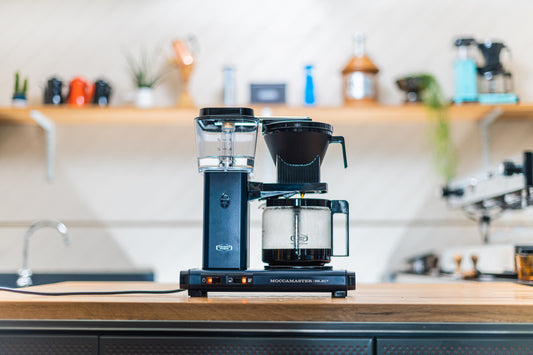
The Moccamaster KBG Select: Overview & Brewing ...
Last year, we created a video offering tips on how to get the most from the Moccamaster KBG that’s proven valuable to many. The more recent release of the Moccamaster KBG Select...
The Moccamaster KBG Select: Overview & Brewing ...
Last year, we created a video offering tips on how to get the most from the Moccamaster KBG that’s proven valuable to many. The more recent release of the Moccamaster KBG Select...
Read more
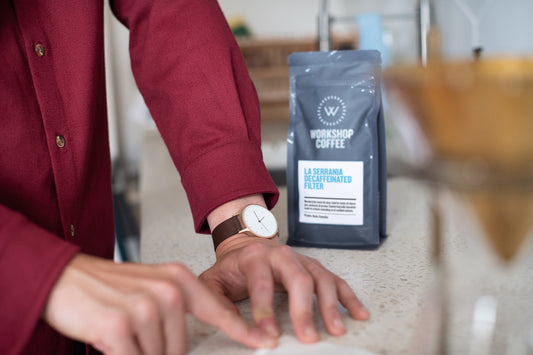
A Closer Look at Decaffeinated Coffee
Decaffeinated coffee remains a taboo amongst some people specialty coffee world. I haven't seen any other coffee trope so ubiquitous, whether tattooed onto a forearm, scrawled on an A-board or emblazoned...
A Closer Look at Decaffeinated Coffee
Decaffeinated coffee remains a taboo amongst some people specialty coffee world. I haven't seen any other coffee trope so ubiquitous, whether tattooed onto a forearm, scrawled on an A-board or emblazoned...
Read more
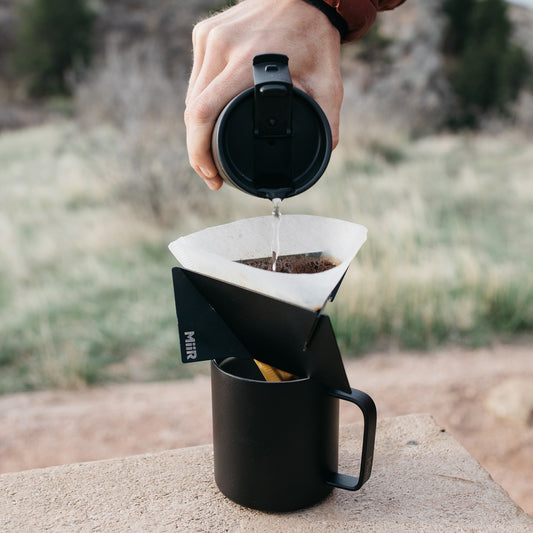
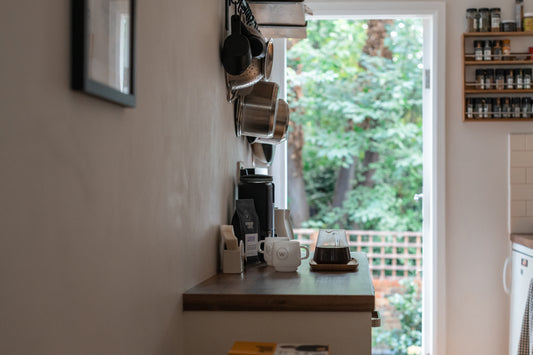
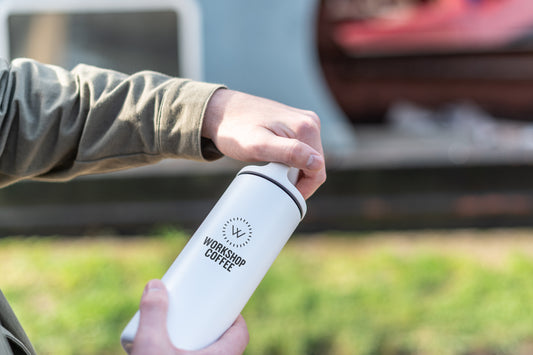
For the Outdoors: Our Latest Brew Bundle
There's something about brewing and drinking coffee in the outdoors. Perhaps it's the fact there are fewer distractions, or maybe it's just the novelty of spending some much-needed time away from...
For the Outdoors: Our Latest Brew Bundle
There's something about brewing and drinking coffee in the outdoors. Perhaps it's the fact there are fewer distractions, or maybe it's just the novelty of spending some much-needed time away from...
Read more
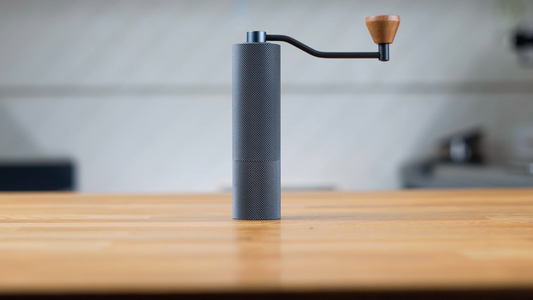
Timemore’s Chestnut Slim Hand Grinder
The Chestnut Slim grinder from Timemore is a really high spec, but accessibly priced, hand grinder which we’ve been thoroughly impressed with in our testing. The following relays our experiences with...
Timemore’s Chestnut Slim Hand Grinder
The Chestnut Slim grinder from Timemore is a really high spec, but accessibly priced, hand grinder which we’ve been thoroughly impressed with in our testing. The following relays our experiences with...
Read more
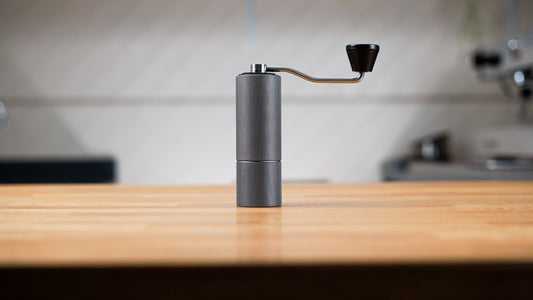
Timemore’s Chestnut C2 Hand Grinder
The Chestnut C2 is Timemore’s entry level hand grinder, but the small price tag gets you a grinder with a number of excellent features. We've also created a video that offers...
Timemore’s Chestnut C2 Hand Grinder
The Chestnut C2 is Timemore’s entry level hand grinder, but the small price tag gets you a grinder with a number of excellent features. We've also created a video that offers...
Read more
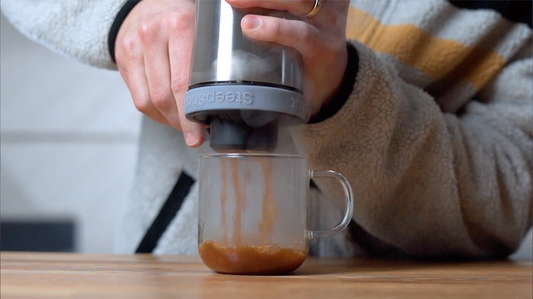
Introducing the SteepShot Immersion Coffee Brewer
Allow us to introduce the SteepShot, a new breed of coffee brewer. Designed by Ari Halonen in Norway, this intelligent and considered 1-cup coffee maker utilises pressure to create delicious coffee...
Introducing the SteepShot Immersion Coffee Brewer
Allow us to introduce the SteepShot, a new breed of coffee brewer. Designed by Ari Halonen in Norway, this intelligent and considered 1-cup coffee maker utilises pressure to create delicious coffee...
Read more
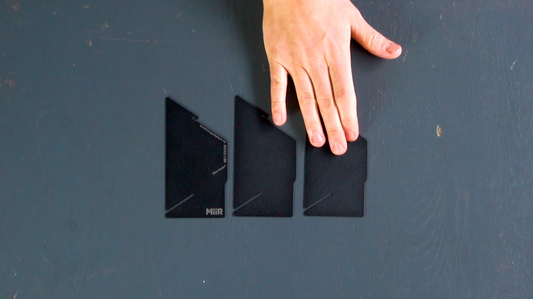
The Pourigami: The World's Smallest Travel Brewer?
Having introduced the full range of MiiR products to the UK, there are some we feel warrant closer inspection and a more in-depth introduction. The Pourigami is one such item....
The Pourigami: The World's Smallest Travel Brewer?
Having introduced the full range of MiiR products to the UK, there are some we feel warrant closer inspection and a more in-depth introduction. The Pourigami is one such item....
Read more
Workshop Coffee x MiiR: Generosity Driven Drink...
We’re delighted to officially introduce MiiR and their range of products to the UK for the first time. Several years ago, we brought you Fresh Pots, a limited run of...
Workshop Coffee x MiiR: Generosity Driven Drink...
We’re delighted to officially introduce MiiR and their range of products to the UK for the first time. Several years ago, we brought you Fresh Pots, a limited run of...
Read more
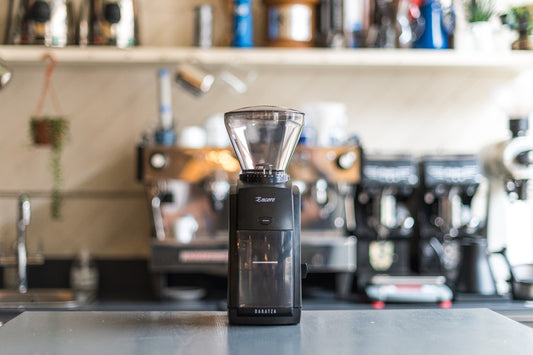
Introducing the Baratza Encore
As our range of equipment and hardware continues to expand, our focus remains on showcasing products we’ve extensively tried and tested to ensure they don’t just complement, but elevate, your...
Introducing the Baratza Encore
As our range of equipment and hardware continues to expand, our focus remains on showcasing products we’ve extensively tried and tested to ensure they don’t just complement, but elevate, your...
Read more